Haven't purchased your kit yet?
Some IMPORTANT notes before we begin:
We know you're anxious to begin sculpting but parents, please read these important notes and safety alerts BEFORE getting started.
We know you're anxious to begin sculpting but parents, please read these important notes and safety alerts BEFORE getting started.
- For the safety of the child, we recommend this project only be completed by students ages 3 and up. The kit does contain small parts that can be choking hazards.
- The clay is not safe to consume.
- Be sure to sculpt your chick in a parent approved area. THIS CLAY CAN STAIN WOODEN SURFACES. We recommend completing your project on a glass, metal, plastic or marble surface. Plastic to-go containers work great as an art tray for this activity. Do not roll your project on newspaper, the ink will come off on your clay. Do not place uncooked clay on Styrofoam, it eats through it.
- This clay picks up anything around it. Be sure to wash your hands and table before creating. If your clay gets dirty, keep rolling it and kneading it, it should go back to its original color after you work with it.
- You don't have to use all the clay you got in your kit. Maybe you want a small chick or smaller eyes, that's completely fine! We always include a little bit of extra clay because, well, things happen.
- Do not stick the feather in your chick's head before it goes in the oven. IT WILL BURN. Please make sure your chick is completely cool before sticking the feather in or it might melt. Patience is hard but we believe in you! *Optional* you can use glue if your feather didn't stick or your hole is too big.
- Be very careful when operating the oven. The oven should be operated by an adult. Do not place your chick on the top rack of the oven or it might burn. You can cook your chick on foil if you do not want the clay directly on your cookie sheet. Toaster ovens and microwaves will not work for this task, darn. :(
- Most importantly, remember that there is absolutely no way to do this project wrong! That's why we love art! Just do your best and be proud of your creation.
- No two artists create the same way. :)
Step-by-step chick directions
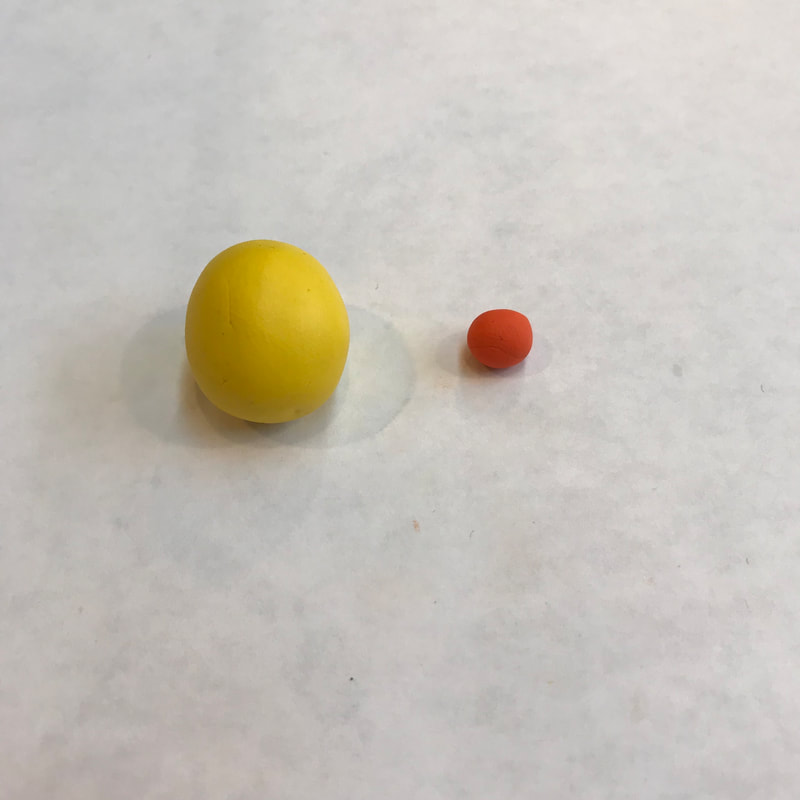
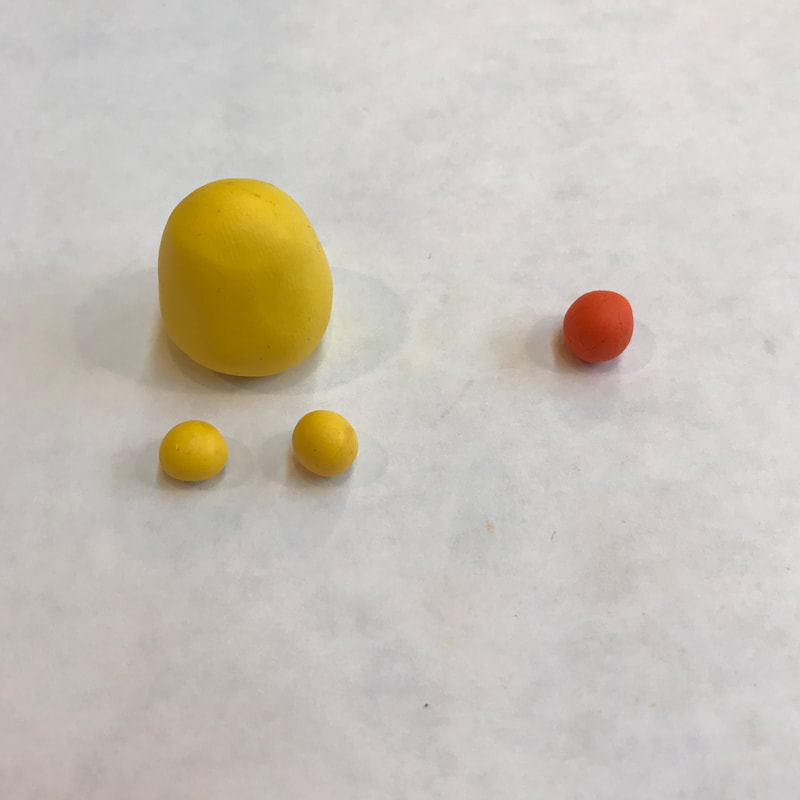
Start with your yellow and orange pieces of clay and get EXCITED! You're about to make something awesome! |
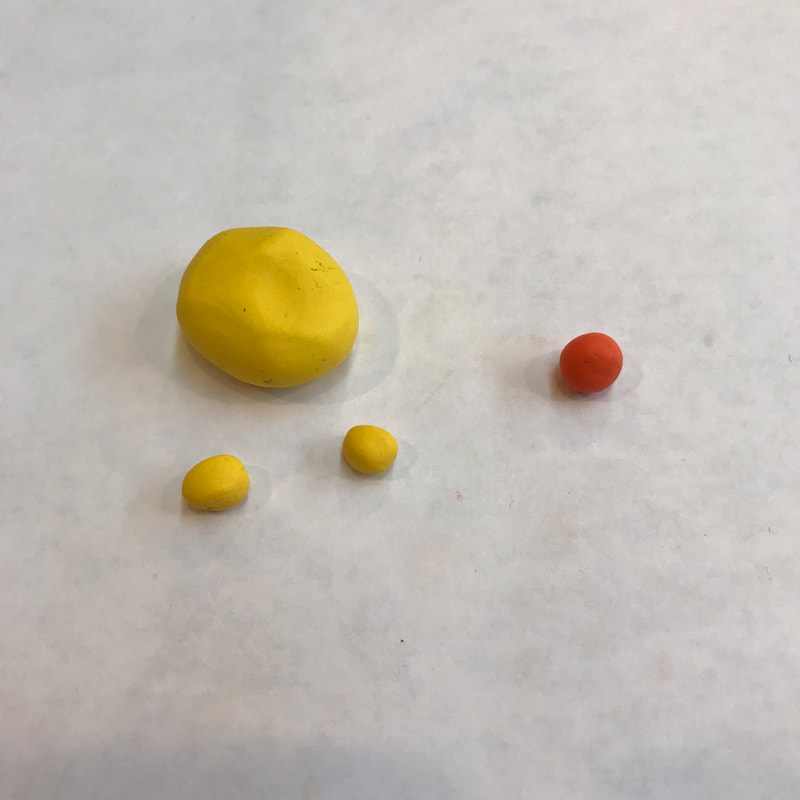
Divide your yellow ball into 3. 1 Large ball for the body and 2 small balls for the wings. |
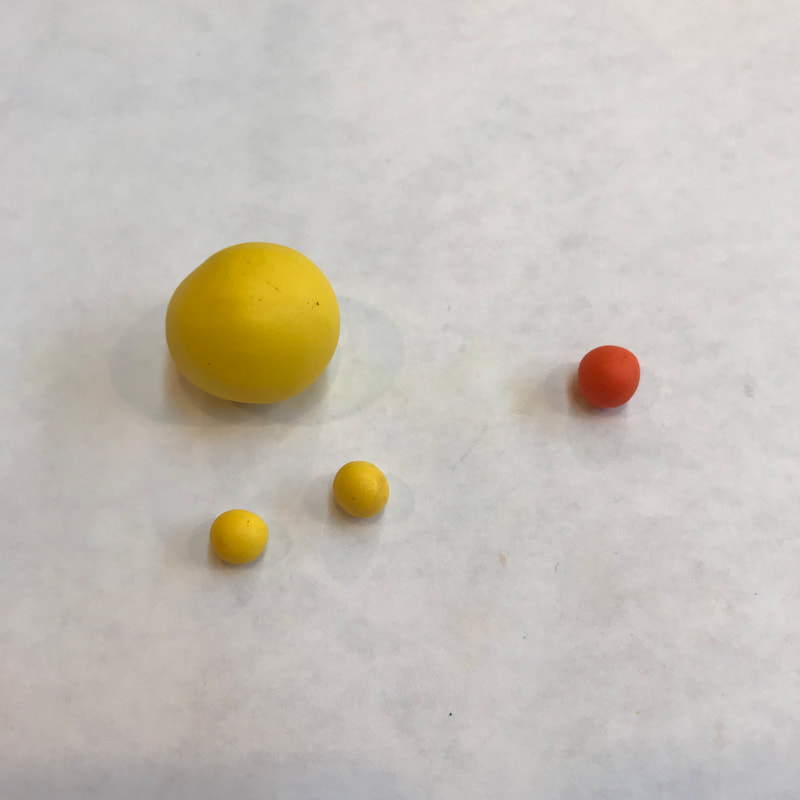
Roll each piece into a nice ball. (This is GREAT for your fine motor skills, and brain!) |
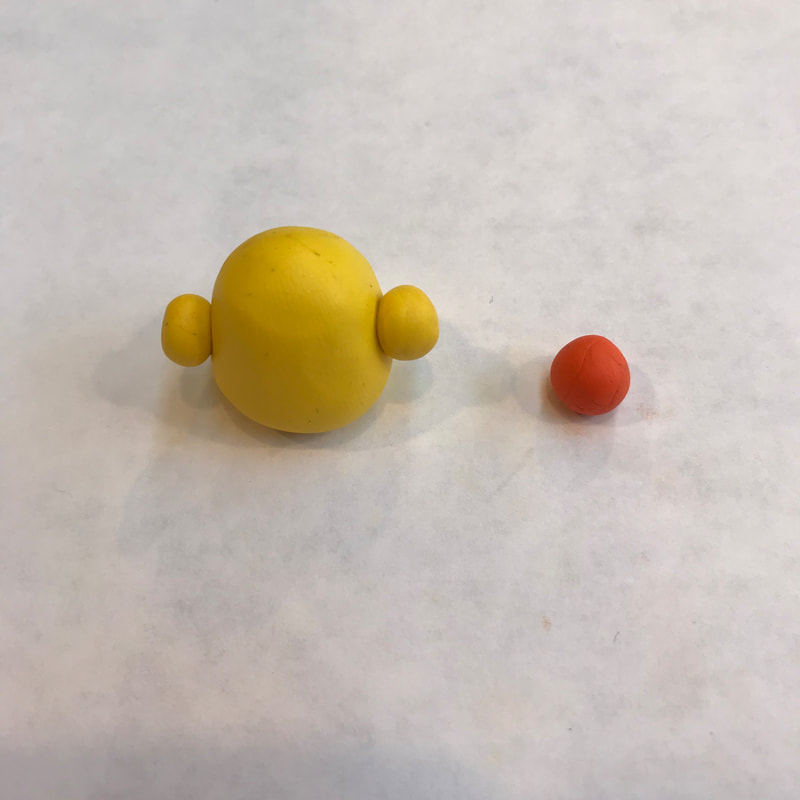
Roll the body into an oval. If it gets skinny, just re-roll it. Clay is very forgiving! |
Add the 2 small balls onto the side of the chick. This is the start of your lovely wings! |
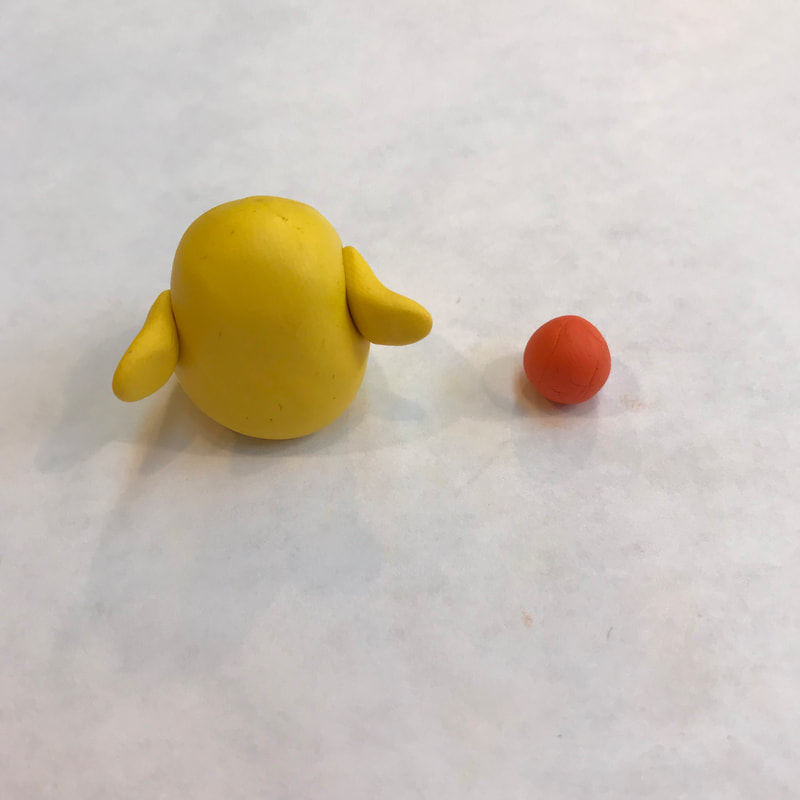
Shape your wings into a shape you like. There's no wrong way to do it! |
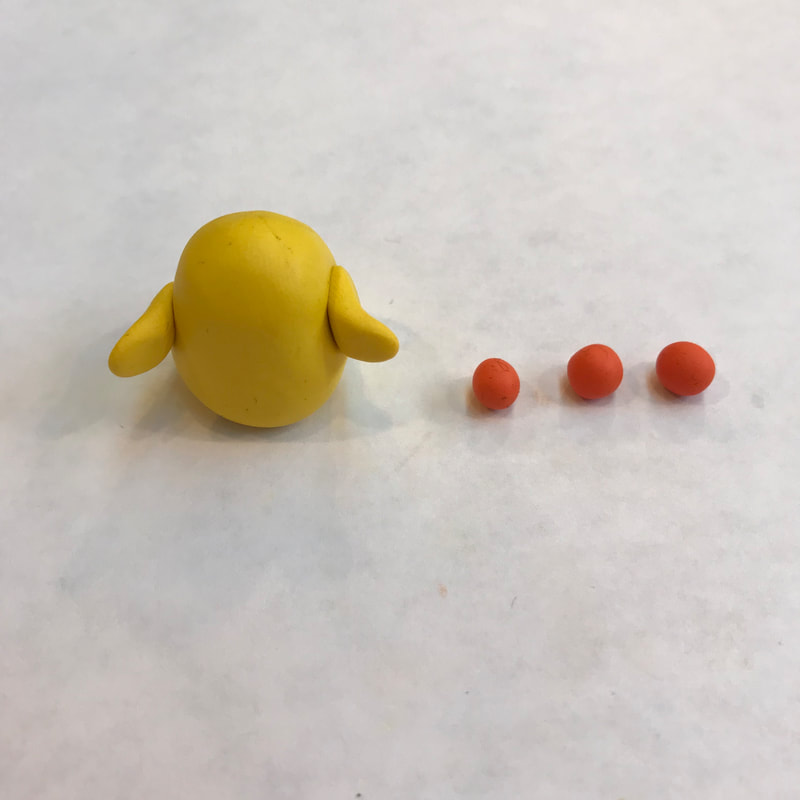
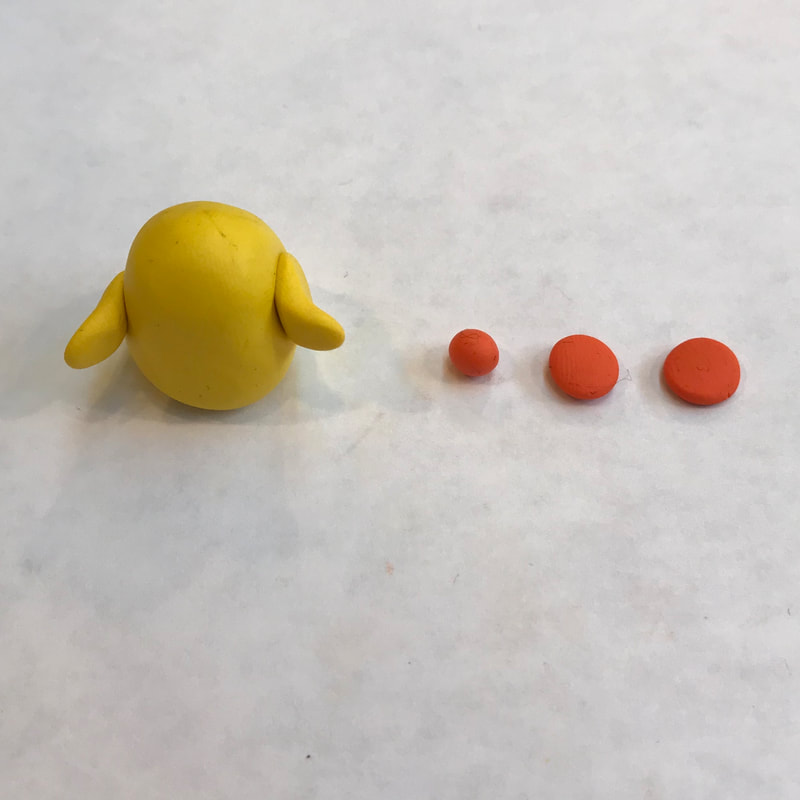
Divide your orange ball into 3 pieces. Now you're using your measuring skills. Go you! |
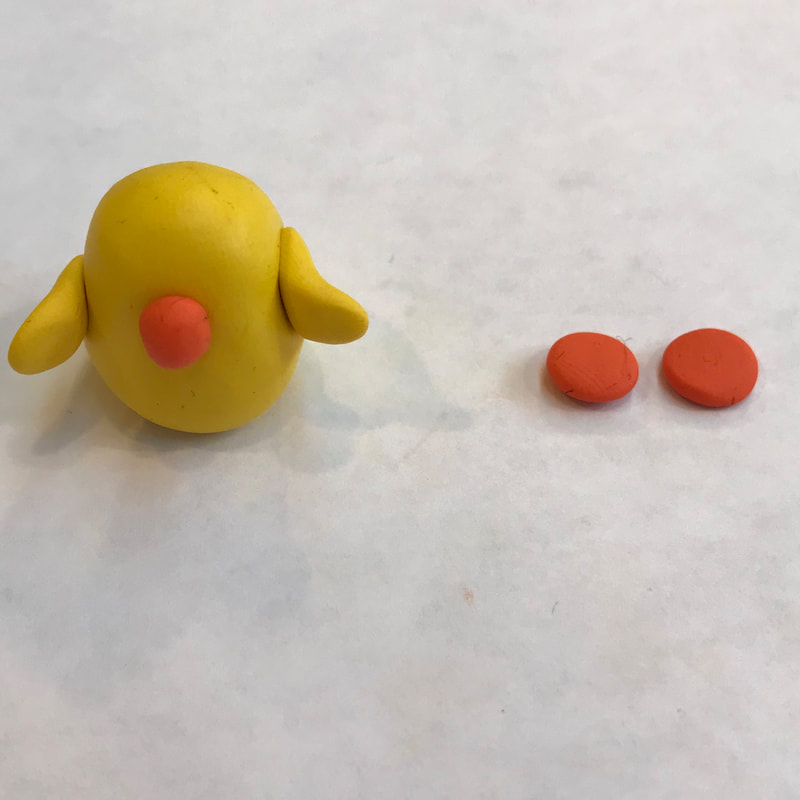
Flattened 2 of your orange balls gently! You're stronger than you know. |
Attach the beak to your chick. Leave it is a ball for now, we'll shape it later. Trust us, it's easier this way :) |
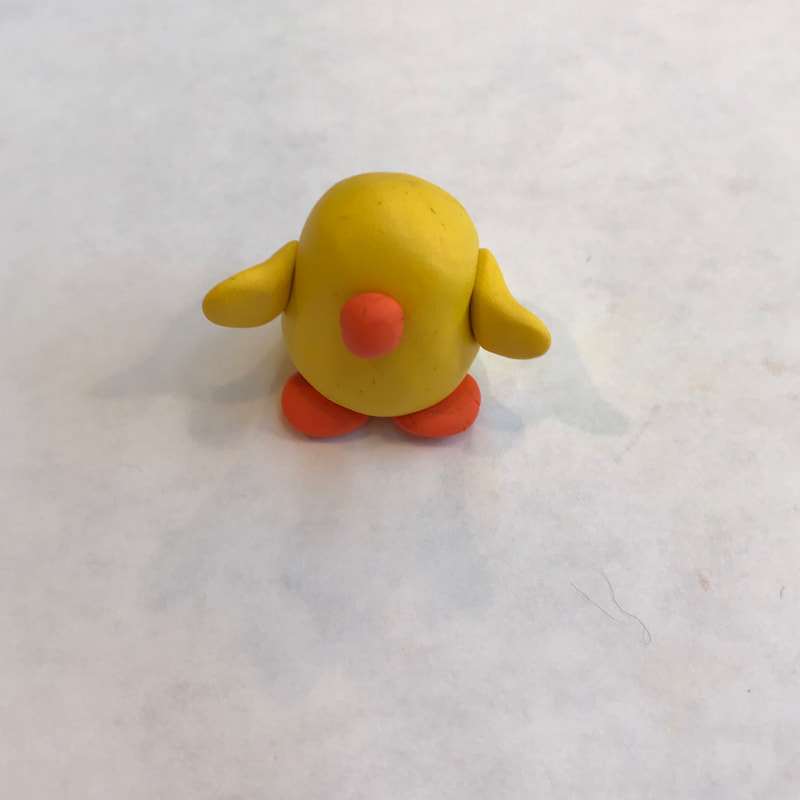
Time to attach your feet to the bottom of your chick. Aww, it's really starting to come together! |
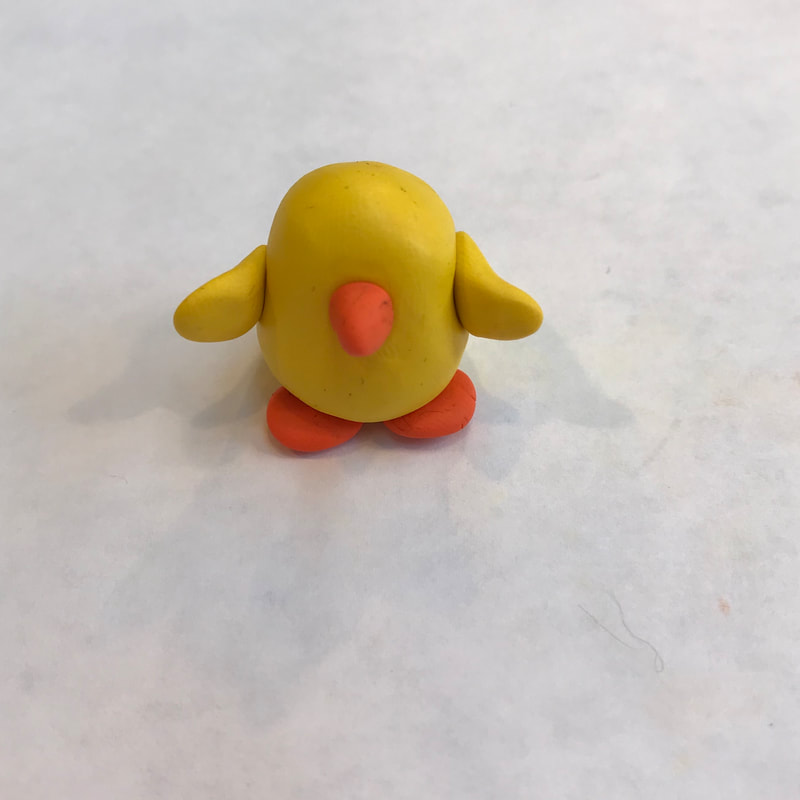
Okay now it's time to shape your beak. Thank you for your patience. |
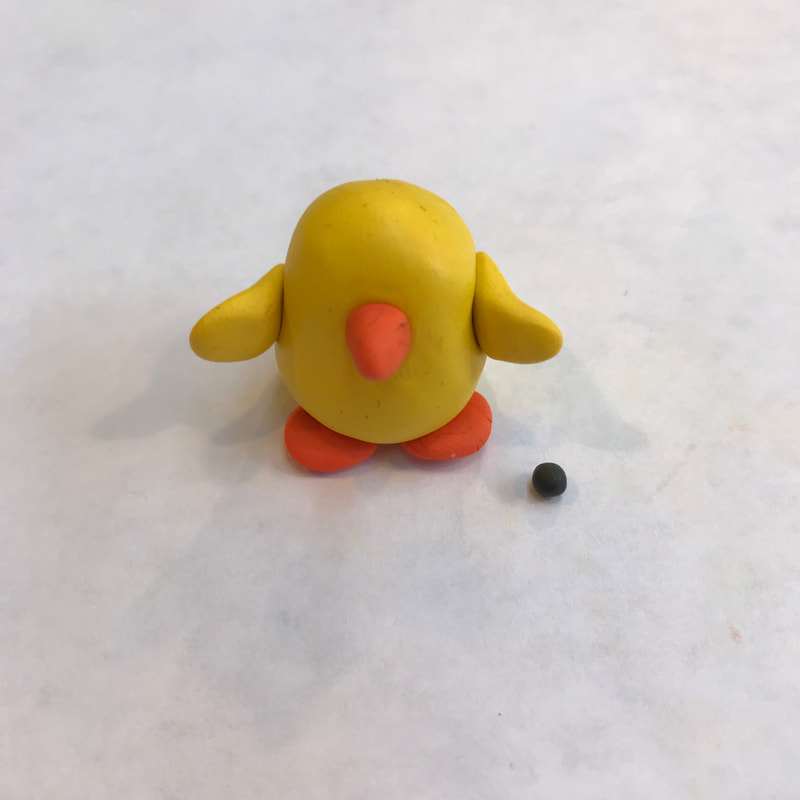
It's time to find your black clay. Careful, it's really tiny. |
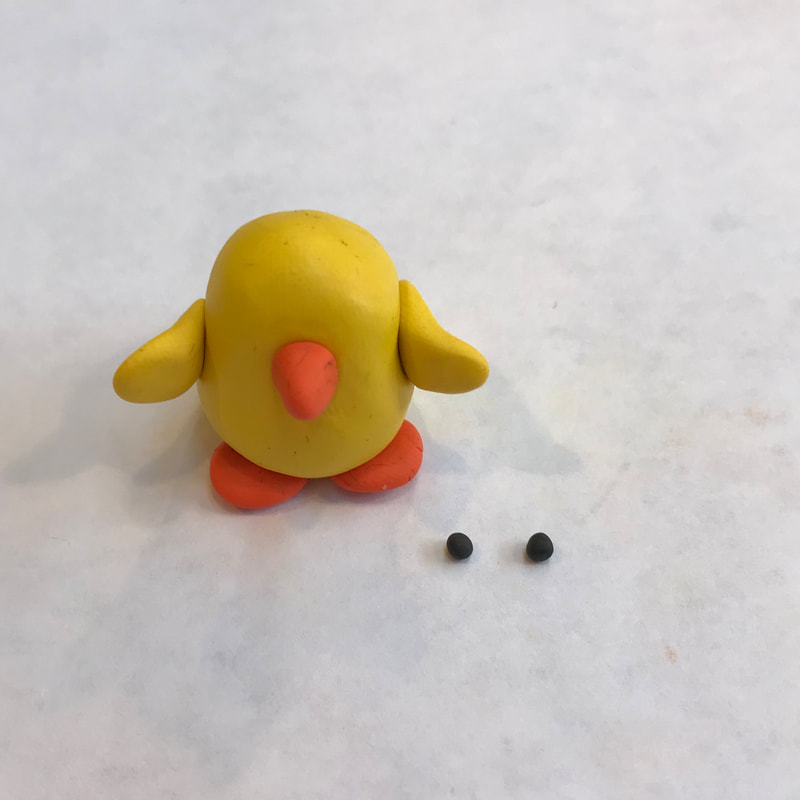
Divide your black clay into 2 balls. Smaller work is more challenging but you can do it! Your brain is really working hard for you here. |
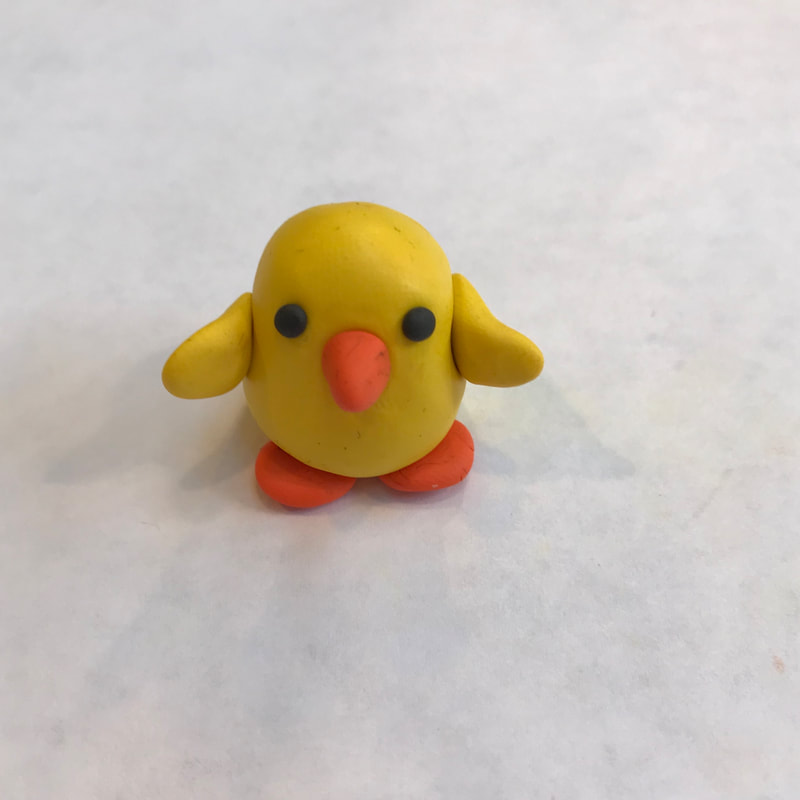
Attach your eyes wherever you'd like. We recommend putting them on your chick's face but the sky's the limit! |
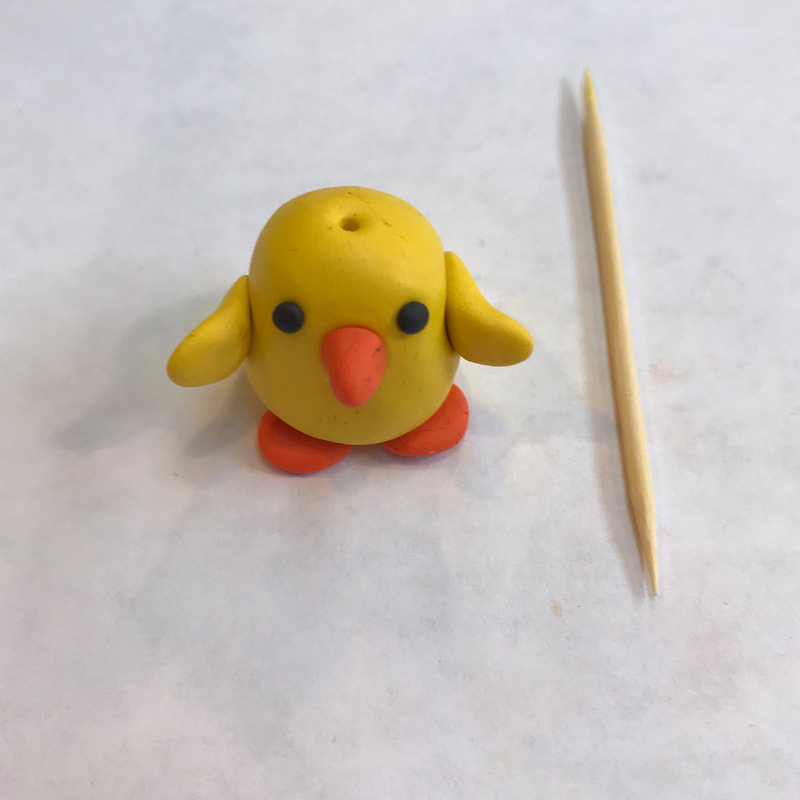
Using your toothpick, gently poke a small hole in your chick's head. It sounds harsh but we promise they'll be okay! |
It's time to cook your chick in the oven (the clay one - dinner will have to wait). Place your chick on a cookie sheet and cook it on the middle rack at 225 degrees for 10 minutes. Younger students must have the help of their parents for this step. Be careful! |
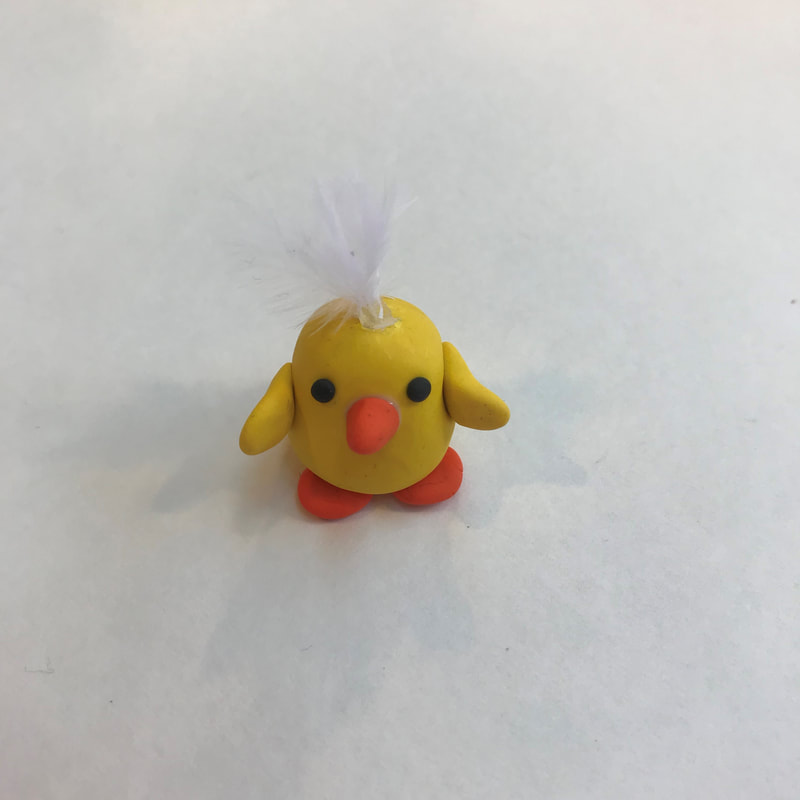
Let your chick cool completely and then stick the feather into their head. They really look fluffy now!
|
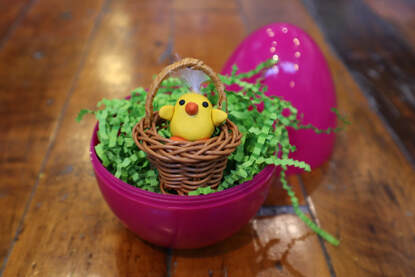
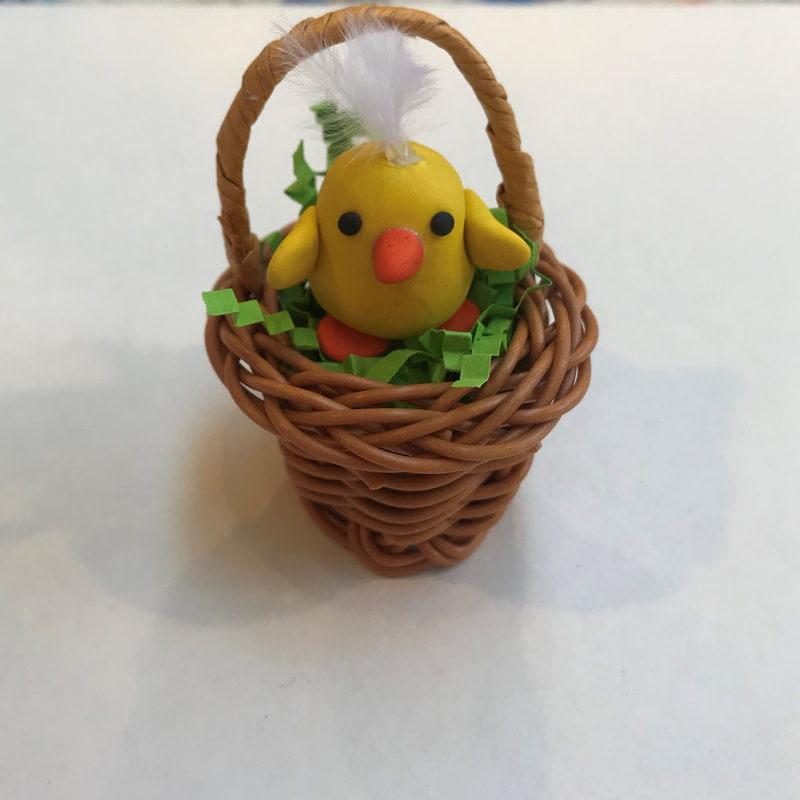
Display your chick and be proud, YOU DID IT! Share your finished project with us on social media :) |
We would LOVE to see your finished chicks!
Share it with us on social media or via email
for a chance to be featured on our Facebook and Instagram!
Email: [email protected]
Instagram: @Studioclaremont
Facebook: Studio Claremont
Thank you so much for creating a chick with us!
Stay tuned for more seasonal kits that will be released
in the near future.
